
The Ultimate Guide to Hanging Fine Art Photography: Elevate Your Space with Landscape Prints
Sep 17, 2025
The Ultimate Guide to Hanging Fine Art Photography: Elevate Your Space with Landscape Prints
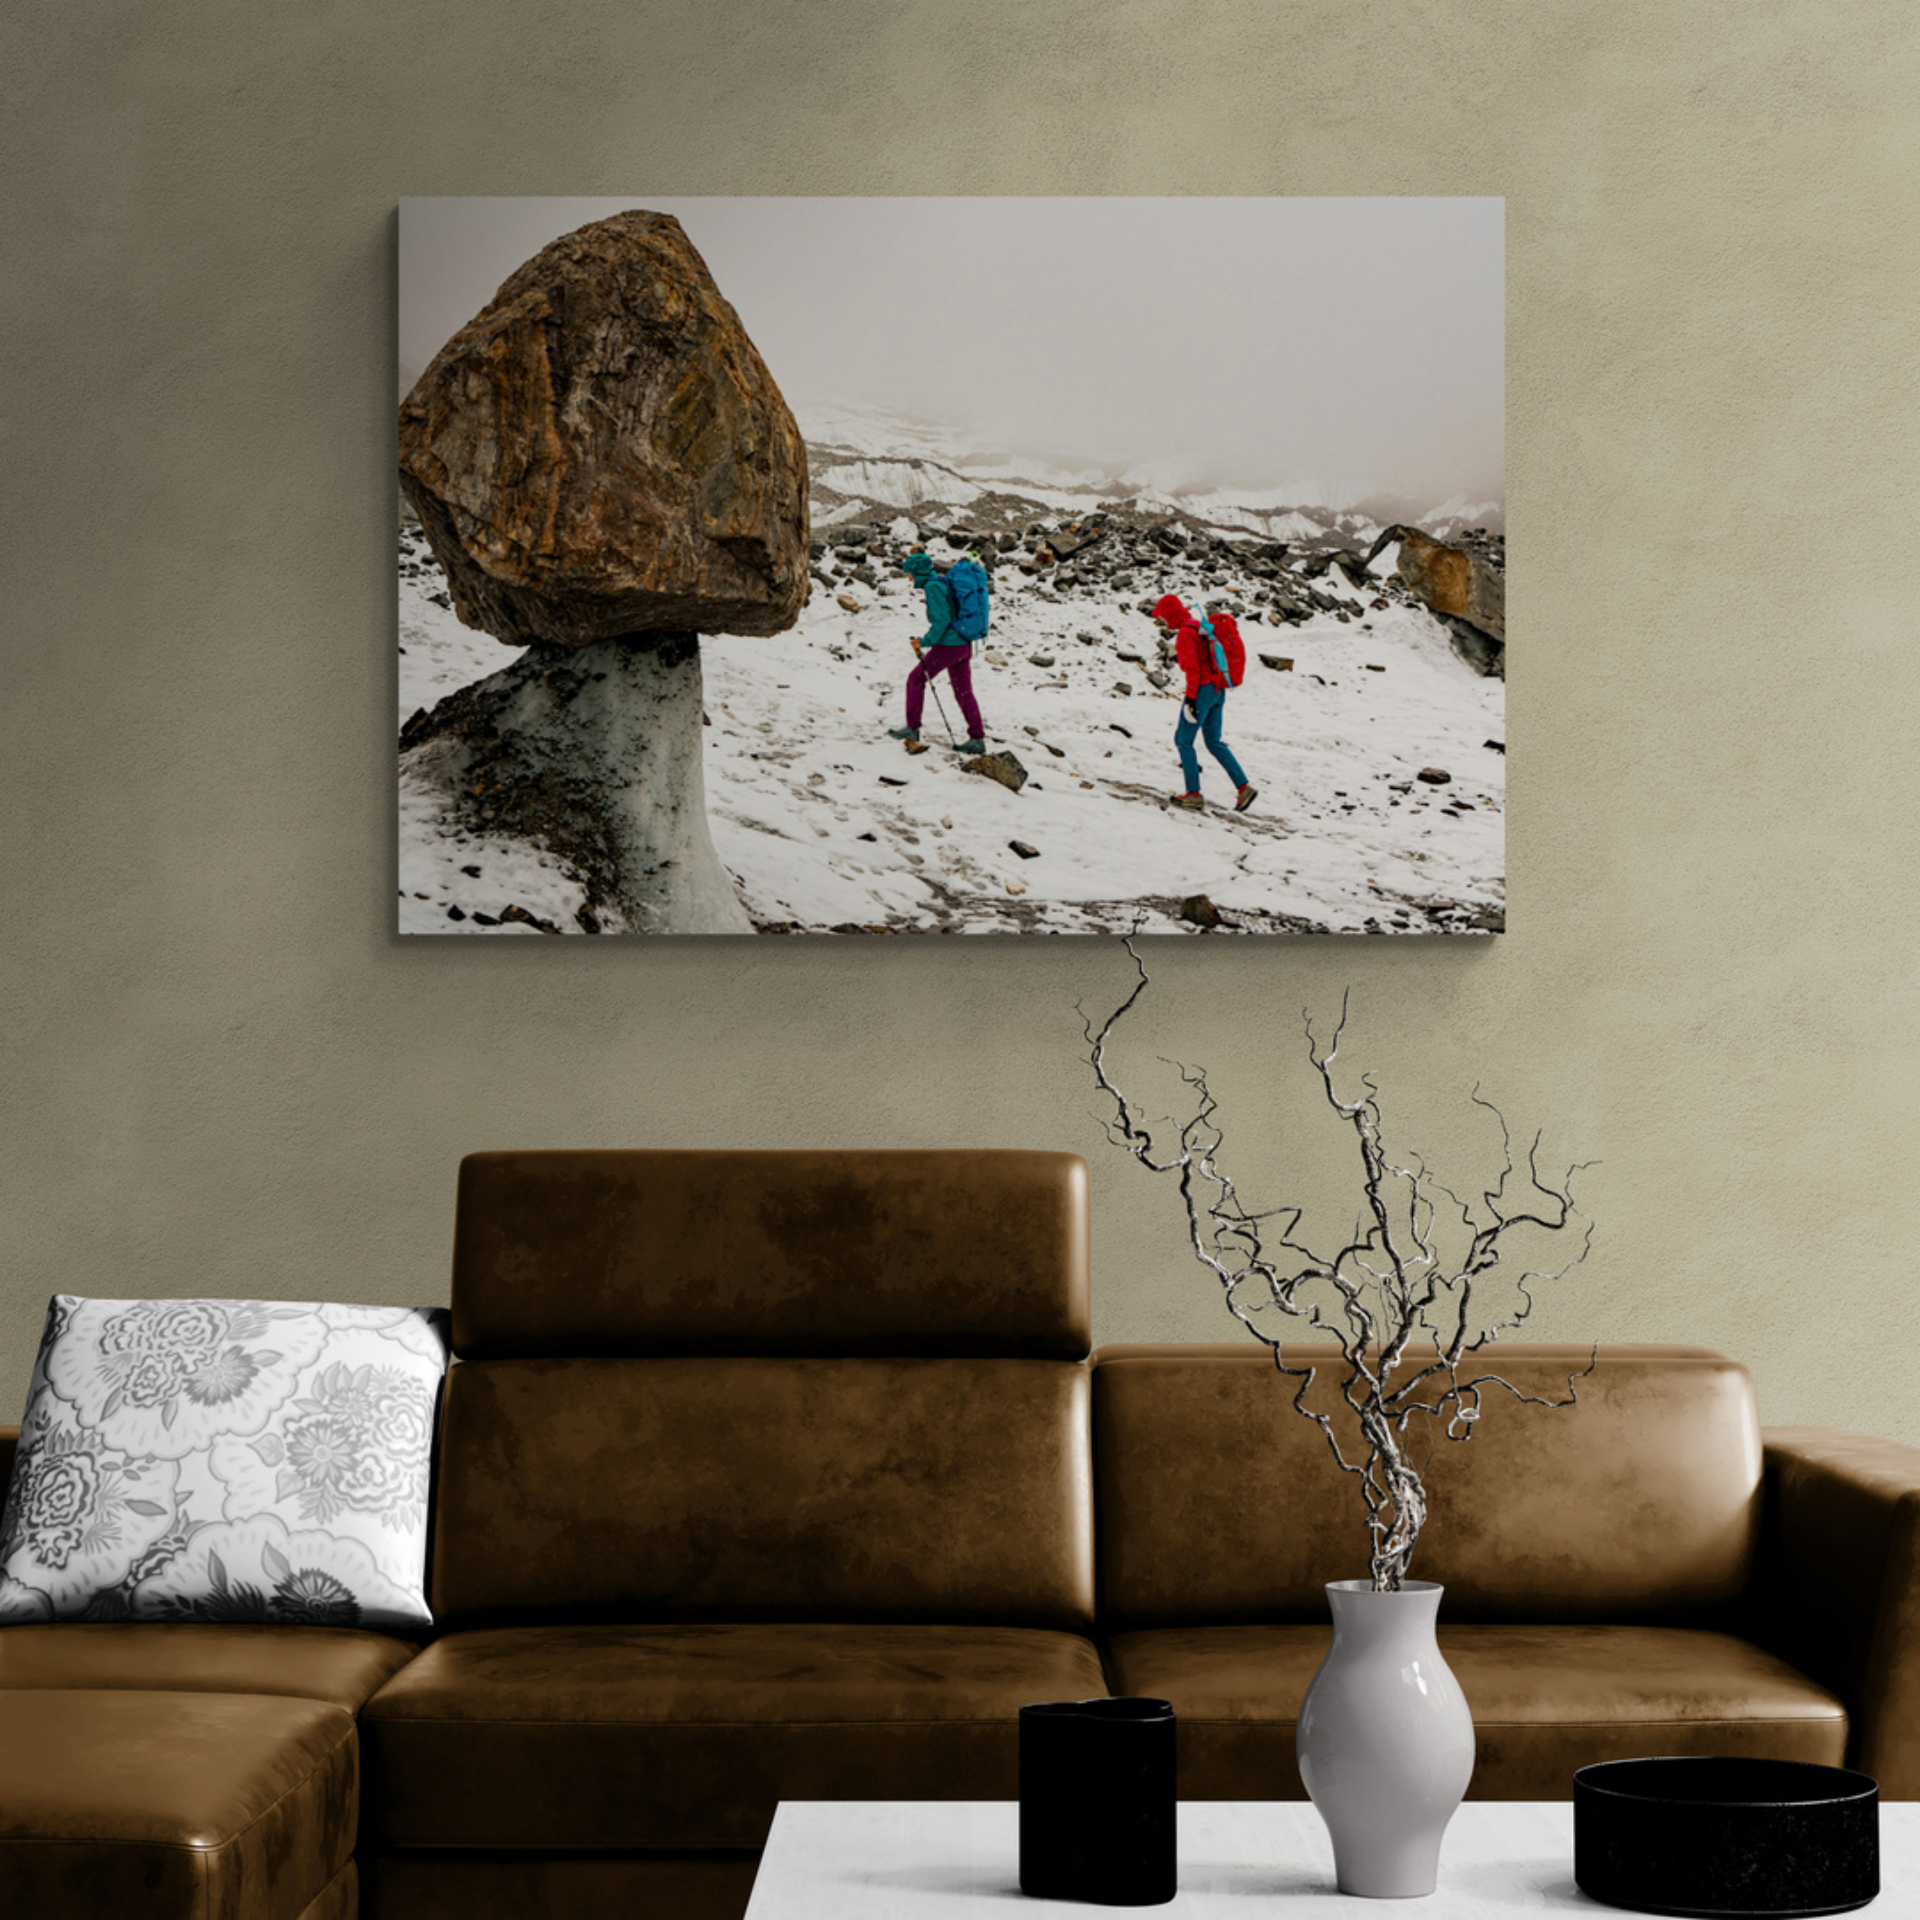
Landscape photography has the power to transform a room, evoke emotion, and bring the beauty of the outdoors into your home or office. But even the most stunning photograph can lose its impact if it’s not displayed thoughtfully. If you’ve recently purchased—or are considering purchasing—fine art photography, understanding how to hang and showcase your prints can make all the difference.
1. Choose the Right Location
Before you grab a hammer, think carefully about where your photograph will live:
-
Lighting Matters: Natural light enhances colors and textures, but direct sunlight can fade prints over time. Choose a spot with balanced, indirect lighting.
-
Eye-Level Placement: Hang artwork so the center of the piece is at eye level (roughly 57–60 inches from the floor) for maximum engagement.
-
Consider the Room’s Function: Bold landscapes work well in living rooms and offices, while calming scenes suit bedrooms or meditation spaces.
2. Frame and Matting Choices
The right frame elevates a landscape photograph without overpowering it:
-
Frame Material: Wood frames bring warmth and a natural feel, while metal frames can add a modern touch.
-
Matting: A mat creates visual breathing room between your photograph and the frame. White or off-white mats work best for most landscape photography.
-
Glass or Acrylic: Protect your photograph with UV-resistant glass or acrylic, especially for prints exposed to natural light.
3. Hanging Techniques
Correct hanging is essential for both aesthetics and safety:
-
Wall Anchors: For heavier framed prints, use wall anchors to prevent accidents.
-
Picture Hooks and Wire: Securely attach wire to the back of the frame, then hang on sturdy hooks for a clean, level display.
-
Gallery Style: Grouping smaller prints can create a cohesive story. Arrange them in even grids or asymmetrical clusters, but maintain consistent spacing (usually 2–3 inches apart).
4. Complementing Your Space
Landscape photography works best when it complements your interior design:
-
Color Palette: Pull accent colors from the photograph for furniture or decor to create a harmonious look.
-
Minimalist Surroundings: Give your photograph room to shine—avoid overcrowding the wall with other art.
-
Feature Wall: Consider a focal point wall dedicated to landscape photography, creating a mini-gallery in your home.
5. Maintenance and Care
Fine art photography is an investment—protect it for years to come:
-
Dust Regularly: Use a soft, dry cloth to gently remove dust.
-
Avoid Moisture: Keep prints away from high humidity areas like bathrooms.
-
UV Protection: If your print is not framed behind UV-protective glass, limit sun exposure to prevent fading.
Ready to Find the Right Print for Your Space?
If you're looking for ready-to-hang Montana landscape photography prints that are already sized for impact, browse the collection at Prints by JT:
- Cool tone mountain prints — ideal for calm, minimal spaces
- Warm tone Gallatin Valley prints — golden light, perfect for living rooms
- Hyalite Canyon panoramic series — large-scale statement pieces
- Polaroid emulsion lift prints — handmade analog work for collectors
Every print ships ready to hang on archival media. Questions about sizing or placement? Contact Jason directly — I will respond within 24 hours.